I decided to install a gray water tank on our Vanagon. These were fairly common on European Vanagons, but not an option in the US. The reason I chose to do this was that many of the campgrounds on the East Coast (and elsewhere) frown upon dumping gray water directly into the soil. There is at least 1 downside to this install, and that’s the fact that it does reduce your ground clearance some. Not really much more than the propane tank, but it is something to be aware of.
I ordered this tank from Bus Depot and was very pleased with the product. I did end up with the non-AC version due to a mix up on their end, but they were quick to remedy the situation. I was somewhat surprised it didn’t come with any install instructions, and wrote to see if there were any, but alas there are not. So here goes.
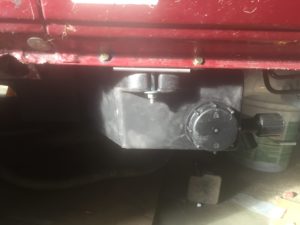
- The tank goes to the fore of the propane tank on the drivers side and mounts (with hardware purchased separately…) to the frame and body. Some drilling is required.
- There are 3 attachment points. 1 behind the wheel, 1 to the outer body edging, and 1 to the frame rail.
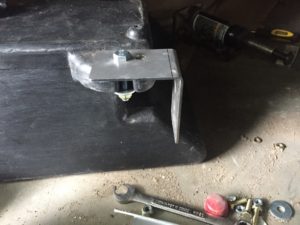
- Carefully mark the location of the rearmost bracket (large L shape with 2 holes on top, and 3 holes for screws). this requires 3 screws which will need to be pre-drilled. I believe they were larger than 1/8th, but not by much. You should probably install the bolt prior to installing the hanger as getting to the nut on the top would be nearly impossible. If you have AC hoses you will likely need
to take off one of the securing brackets to get the tank bracket in place.
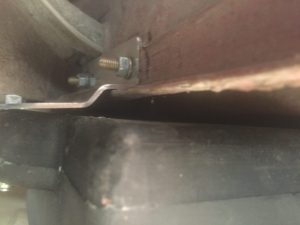
- Once that bracket is installed, give yourself a hand, that was not easy. Now you can mark the foremost bracket for drilling (smaller l shaped bracket with the rounded inner radius). I braced the tank with a piece of wood to keep it from moving around. This made drilling the holes much easier. Use the provided hardware to install the tank bracket to the frame.

- At this point I loosely hung the tank from the 2 bolts and marked the edges and holes of the remaining bracket. I drilled out the body (carefully) and installed it with the included hardware being sure to hang the bolt first (just a preference).

Tada – all finished.

![]()
![]()
![]()
